
How to Customize Custom Fields
Customizing custom fields allows you to collect specific information tailored to your business needs. Follow these steps to create and customize custom fields:
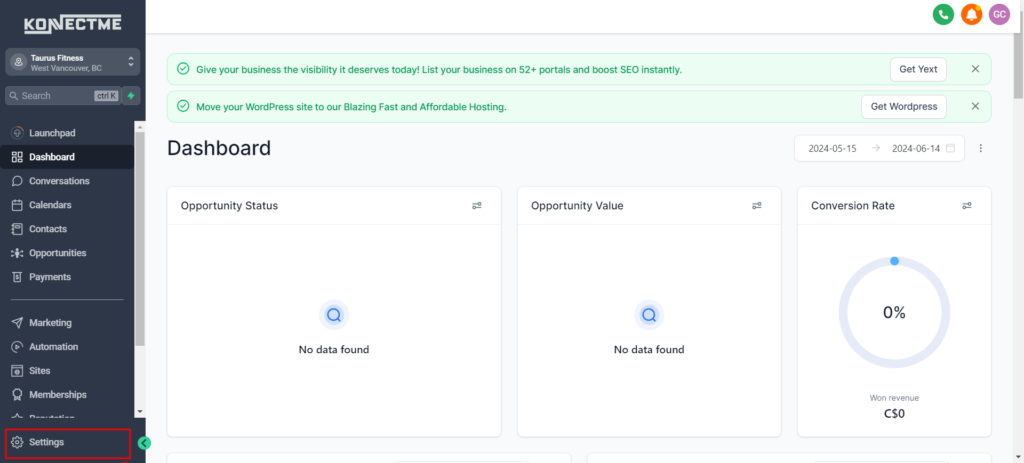
Step 1: Access Settings
- Log in to your account dashboard.
- Navigate to the “Settings” section from the left sidebar.
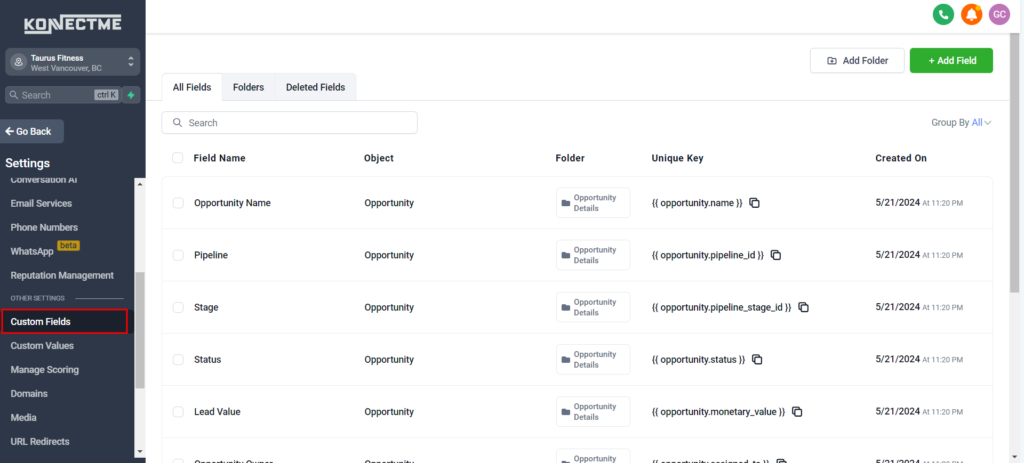
Step 2: Go to Custom Fields
- In the Settings menu, find and click on the “Custom Fields” option.
- This will take you to the section where you can manage custom fields.
Step 3: Create a New Custom Field
- Click on the “Add Field” button.
- A configuration window will appear for you to enter details for the new custom field.
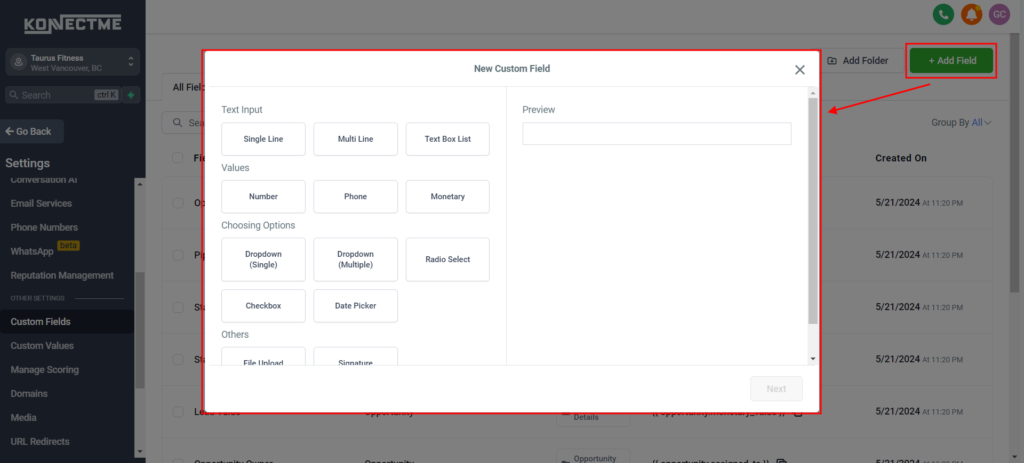
Step 4: Configure Field Details
- Select the field type (e.g., text, dropdown, date, checkbox).
- Enter the name of the custom field.
- Add any additional options or settings relevant to the field type.
- Specify where this field will be used (e.g., contacts, appointments).
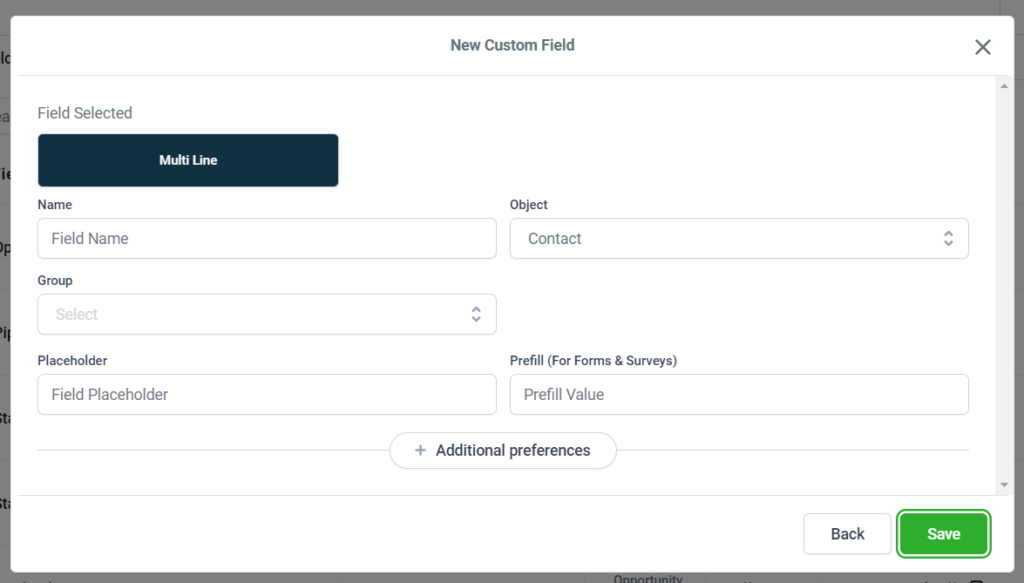
Step 5: Save the Custom Field
- Once all details are entered, click “Save” to create the custom field.
- The new custom field will now appear in the list and be available for use.
Step 6: Apply Custom Fields
- When creating forms, workflows, or records, you can now use the newly created custom field.
- Ensure the custom field is positioned correctly and collect the necessary information.
Tips
- Field Names: Use clear and descriptive names for custom fields to ensure users understand their purpose.
- Field Types: Choose the appropriate field type for the data you need to collect to enhance usability and accuracy.
- Review and Update: Regularly review and update custom fields to ensure they continue to meet your business needs.
By following these steps, you can effectively customize custom fields to collect specific information and enhance your data management processes.