
Creating a custom field is a great way to ask new leads specific questions about their current fitness experience or other pertinent information that could be useful to you to know about them.
If you’re creating a nutrition program at your gym for example, these custom questions may be useful to ask incoming clients specific questions on their current knowledge or expectations for the program.
Or, maybe you’re running a special clinic or competition and you want to get shirt sizes and have them sign a waive. Another useful tip is to create a “Employment Application form” and use the “Upload field” to have them upload a resume!
The point is, the options are endless and are only hindered by your own creativity on how you wish you use them.
*Note: Want to Trigger a workflow based on how a lead or client answers a specific question on a form? This will allow you to completely customize a new client journey based on how they answer!
Custom Values allow you to add specific pieces of information related to a contact in the CRM. Once a Custom Field has been added to the system, it will appear in every contact detail page. You can use these Custom Fields to keep track of information that’s specific to the business and also use them as reference points in other areas like emails, text messages, notes, and more.
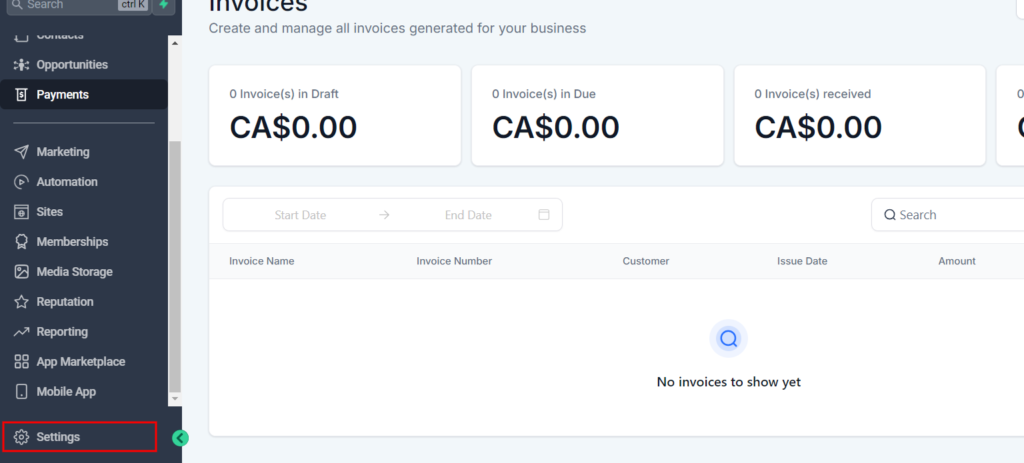
To create a Custom Field, first go to “Settings” > “Custom Fields.”
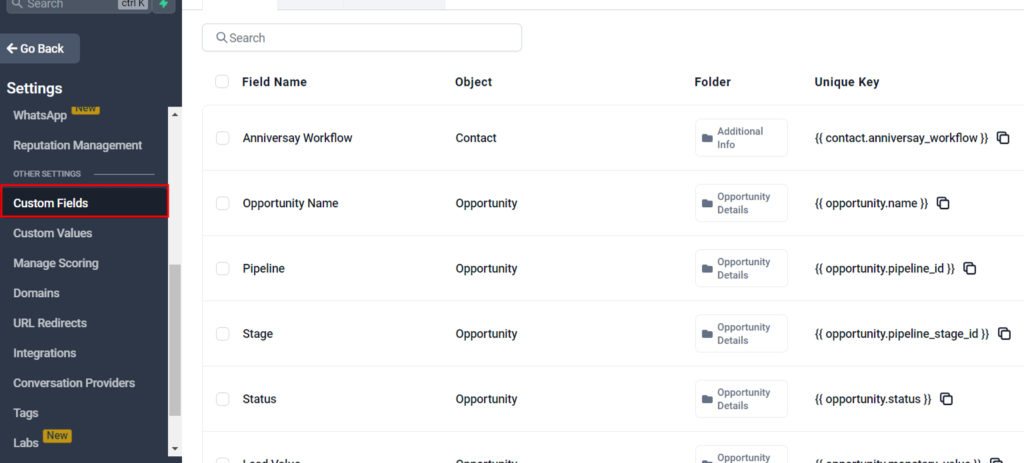
Here you will see a list of the standard fields that are included with each sub-account and any Custom Fields that have already been added. Note: Custom Fields are created within a sub-account and not shared between other sub-accounts.
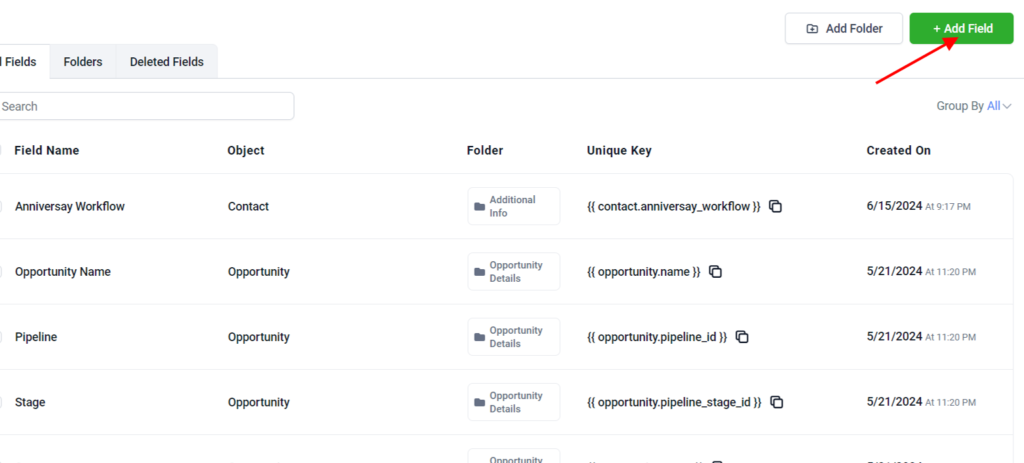
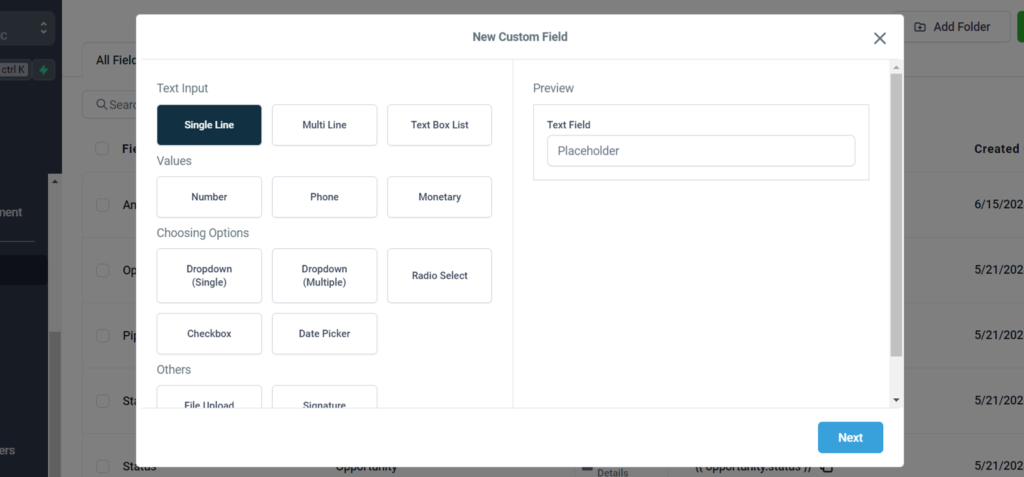
Click the “Add Field” button at the top right of the screen and select the field type you’d like to use.
Next, add the required information into the input boxes, including “Name,” “Group,” and the “Option Name” and “Option Value” if you are adding a Custom Field type with multiple options.. Then, click “Save”
Creating Custom Fields
Log In: Access your Dashboard
- Go to the main menu.
- Select “Settings.”
- Choose “Custom Fields” or “Fields Management.”
Add a New Field:
- In the top right corner click on “Add Field”
- Choose the field you want to add from the field type listed (e.g single line, multi line, number, phone, monetary, etc. )
Save:
- Click “Save” to create the custom field.
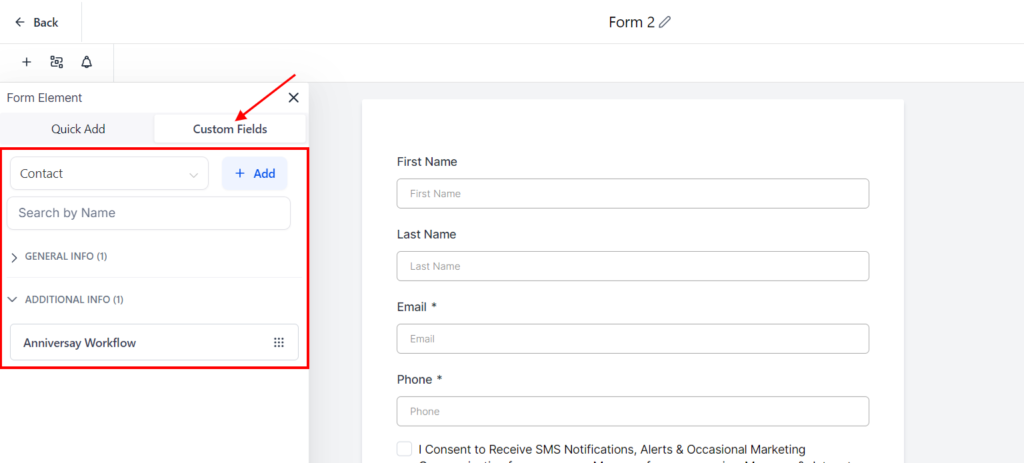
Assign to Form:
- Choose which forms you will put the custom field in (e.g., contact form, order form).
note: custom field will be automatically added in the form section, custom field area after saving.
Using Custom Fields
- Fill Custom Fields:
- When entering data into forms, fill out the custom fields as necessary.
- These fields will appear alongside standard fields such as name, email, and phone number.
- Filter and Sort:
- Use custom fields to filter and sort data within your CRM.
- For example, filter contacts by “Customer Preferences” or sort orders by “Order Number.”
- Reporting and Analytics:
- Incorporate custom fields into your reports for more tailored insights.
- Analyze data based on the specific information captured in custom fields.
Tips for Effective Use
- Relevance: Ensure custom fields capture relevant information that supports your business processes.
- Consistency: Use consistent naming conventions and field types to maintain data integrity.
- Regular Updates: Periodically review and update custom fields to ensure they continue to meet your needs.
- Training: Provide training for staff on how to use and enter data into custom fields accurately.
By creating and using custom fields effectively, you can capture essential information that enhances your business operations and decision-making processes. This customization ensures that your system reflects the unique requirements of your business.