
Sending newsletters from your CRM allows you to engage with your audience and keep them informed. Follow these steps to create and send newsletters:
Step 1: Access the Email Marketing Section
- Log in to your account dashboard.
- Navigate to the “Marketing” section from the left sidebar.
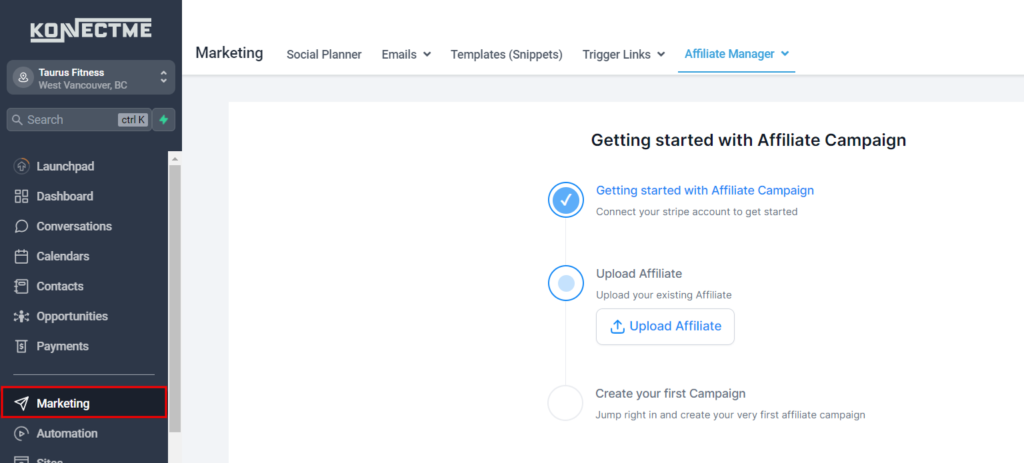
Step 2: Create a New Campaign
- In the Email Marketing section, click on Emails > Campaigns
- Choose “Newsletter” as the type of campaign you want to create.

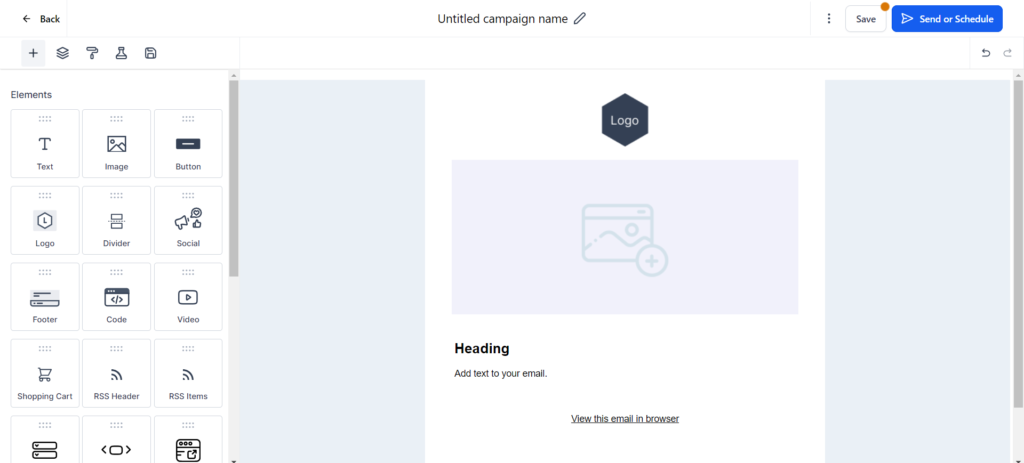
Step 3: Design Your Newsletter
- Enter the campaign name and subject line for your newsletter.
- Use the email editor to design your newsletter. You can add text, images, links, and other elements to make your newsletter engaging.
- Customize the layout and format to match your brand’s style.
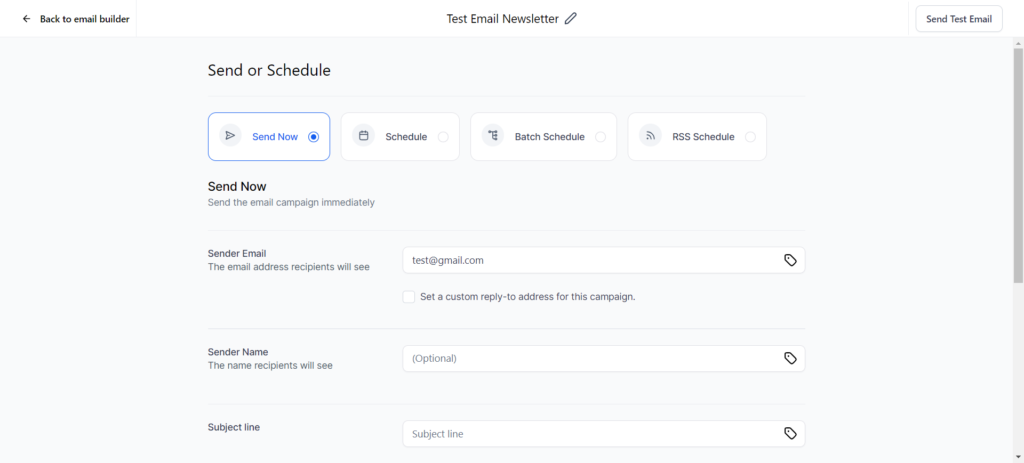
Step 4: Configure Sending Settings
- Set the sender name and email address.
- Schedule the send time or choose to send the newsletter immediately.
- Review the email settings to ensure everything is correct.
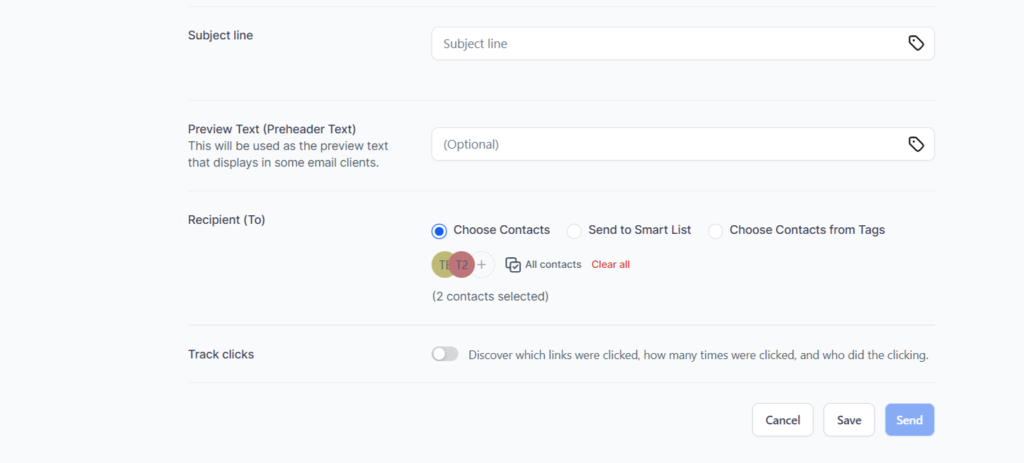
Step 5: Add Recipients
- Select the list of contacts you want to send the newsletter to.
- You can choose an existing list or create a new one by segmenting your contacts based on specific criteria.
Step 6: Preview and Test
- Use the preview feature to see how your newsletter will look in recipients’ inboxes.
- Send a test email to yourself or a colleague to check for any issues.
Step 7: Send the Newsletter
- Once you’re satisfied with the design and settings, click “Send” to distribute the newsletter to your selected recipients.
Tips
- Content Quality: Ensure your newsletter content is valuable and relevant to your audience to increase engagement.
- Personalization: Use merge tags to personalize the newsletter with recipients’ names and other details.
- Analytics: After sending, monitor the performance of your newsletter using open rates, click-through rates, and other metrics to improve future campaigns.
By following these steps, you can effectively send newsletters from your CRM, keeping your audience informed and engaged with your business.
4o